A good artificial lawn should stay flat, drain quickly and look natural for years. Whether it does comes down to what’s underneath. We lay artificial grass across Newcastle, Durham and the North East, and almost every problem we’re called out to fix started with a rushed base. This guide walks you through how to lay artificial grass properly, step by step, so you can decide whether to take it on yourself.
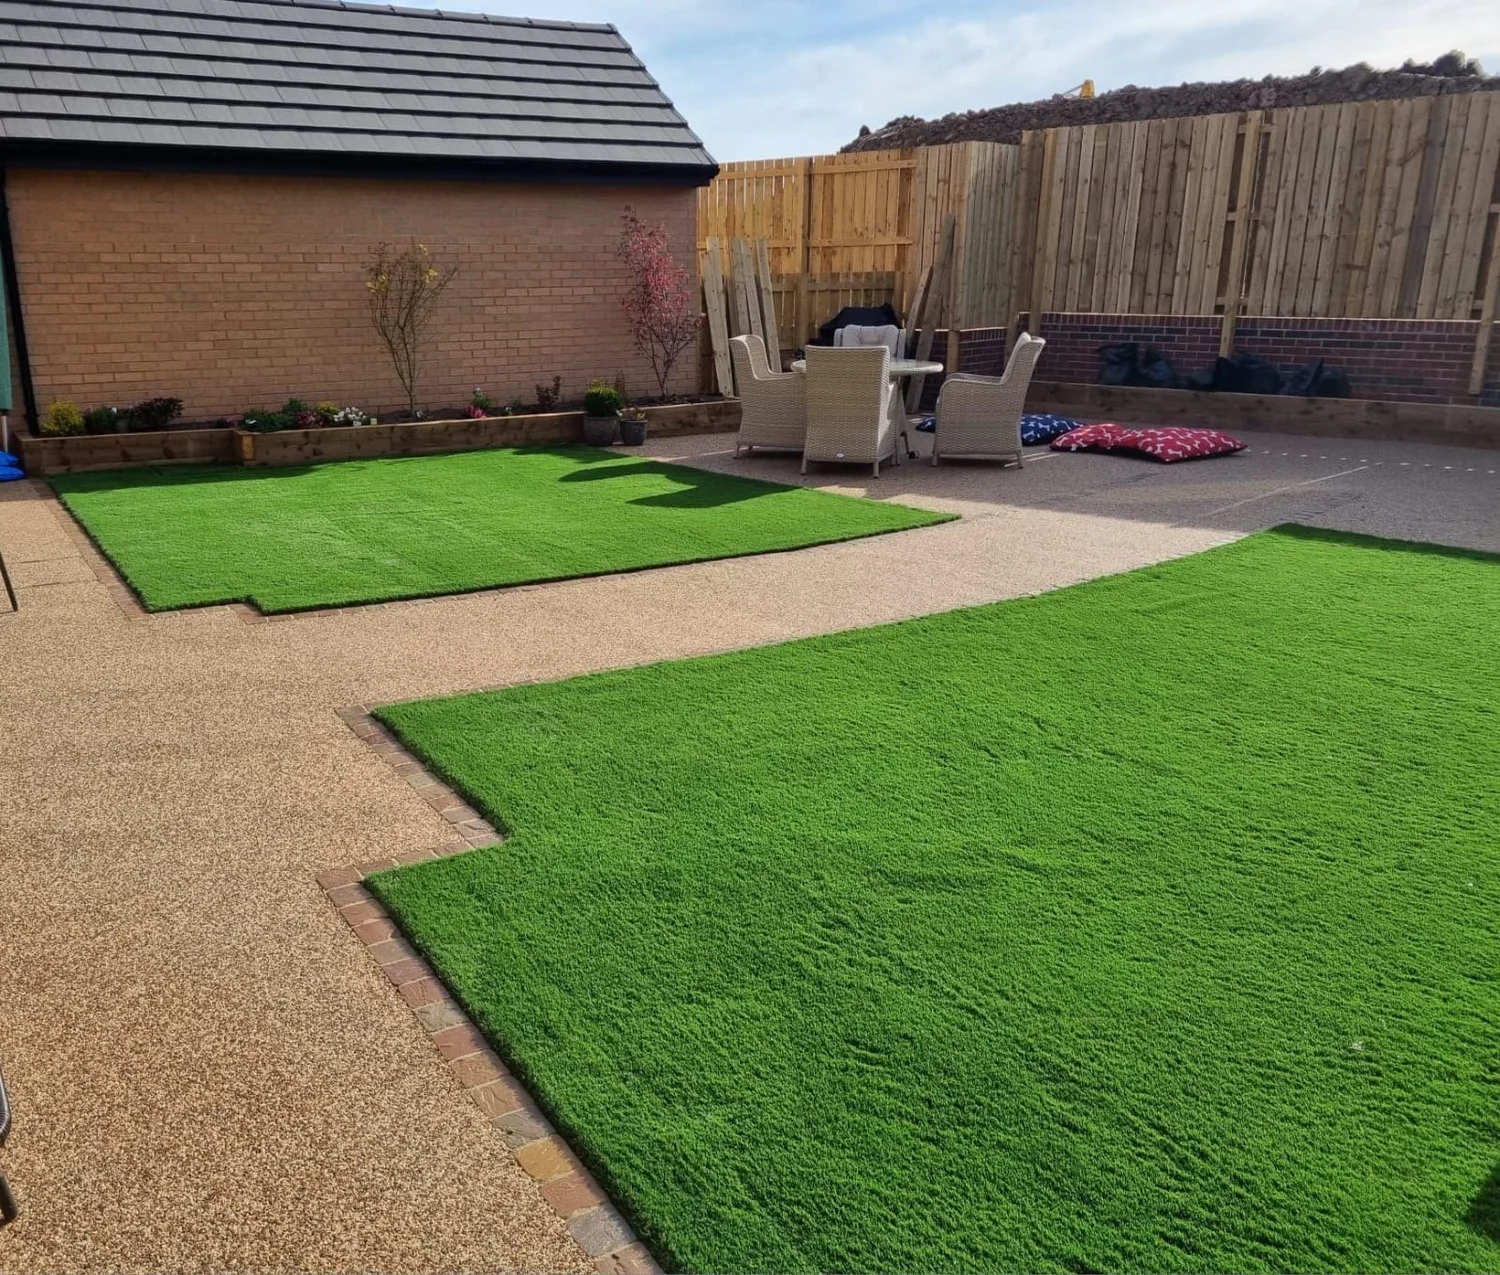
Tools and materials
Get everything together before you start.
- For the dig: spade, turf cutter (available to hire), wheelbarrow, rake and a skip or bags for the waste.
- For the base: MOT Type 1 sub-base, granite dust or sharp sand, a plate compactor (also available to hire), a long straight edge and a spirit level.
- For the edges: treated timber, composite or steel edging, plus pegs or stakes and screws.
- For the grass: the artificial grass itself, a weed membrane, joining tape, artificial grass adhesive, a sharp carpet knife with plenty of spare blades, galvanised nails or U-pins and a stiff broom.
- Optional: kiln-dried sand for infill and a drop spreader to apply it evenly.
Measure and plan
Measure the longest length and the widest width of the area, then add about 10cm on each side for trimming. Artificial grass usually comes in rolls 4m or 5m wide, so sketch the area on paper and work out how the rolls will fit. The aim is as few joins as possible, with any seams running away from the main view from the house.
Check which way the pile leans on your chosen grass. Every roll in the lawn has to point in the same direction, and that direction should face the house or the spot you look at the garden from most.
Remove the turf and dig out
Strip off the existing lawn with a turf cutter or spade, then dig down to give a total depth of roughly 75–100mm below the finished level you want. That gives room for around 50–75mm of sub-base and about 25mm of laying course. On soft or wet ground, or where the lawn will get heavy use, go to the deeper end.
Remove roots, large stones and any old edging as you go. The finished lawn needs a gentle fall away from the house, so plan your levels now.
Fit the edging
Edging holds the base in place and gives you something solid to fix the grass to. Treated timber is common, while composite and steel last longer and won’t rot. Set the top of the edging level with your finished base height, peg it in firmly every metre or so, and keep the lines neat, because the edge of the grass will follow them exactly. Where the lawn meets a patio, path or wall, those can act as the edge.
Build the sub-base
This is the most important layer. MOT Type 1 is a crushed stone with a mix of sizes that locks together when compacted, giving a firm, free-draining base that won’t sink.
- Spread the MOT Type 1 in layers of no more than about 50mm at a time.
- Run the plate compactor over each layer several times until it’s firm underfoot and you can’t see marks when you walk on it.
- Lightly dampen the stone in dry weather, as it compacts better slightly moist.
- Check the levels and fall with a straight edge as you go, filling any dips before the next layer.
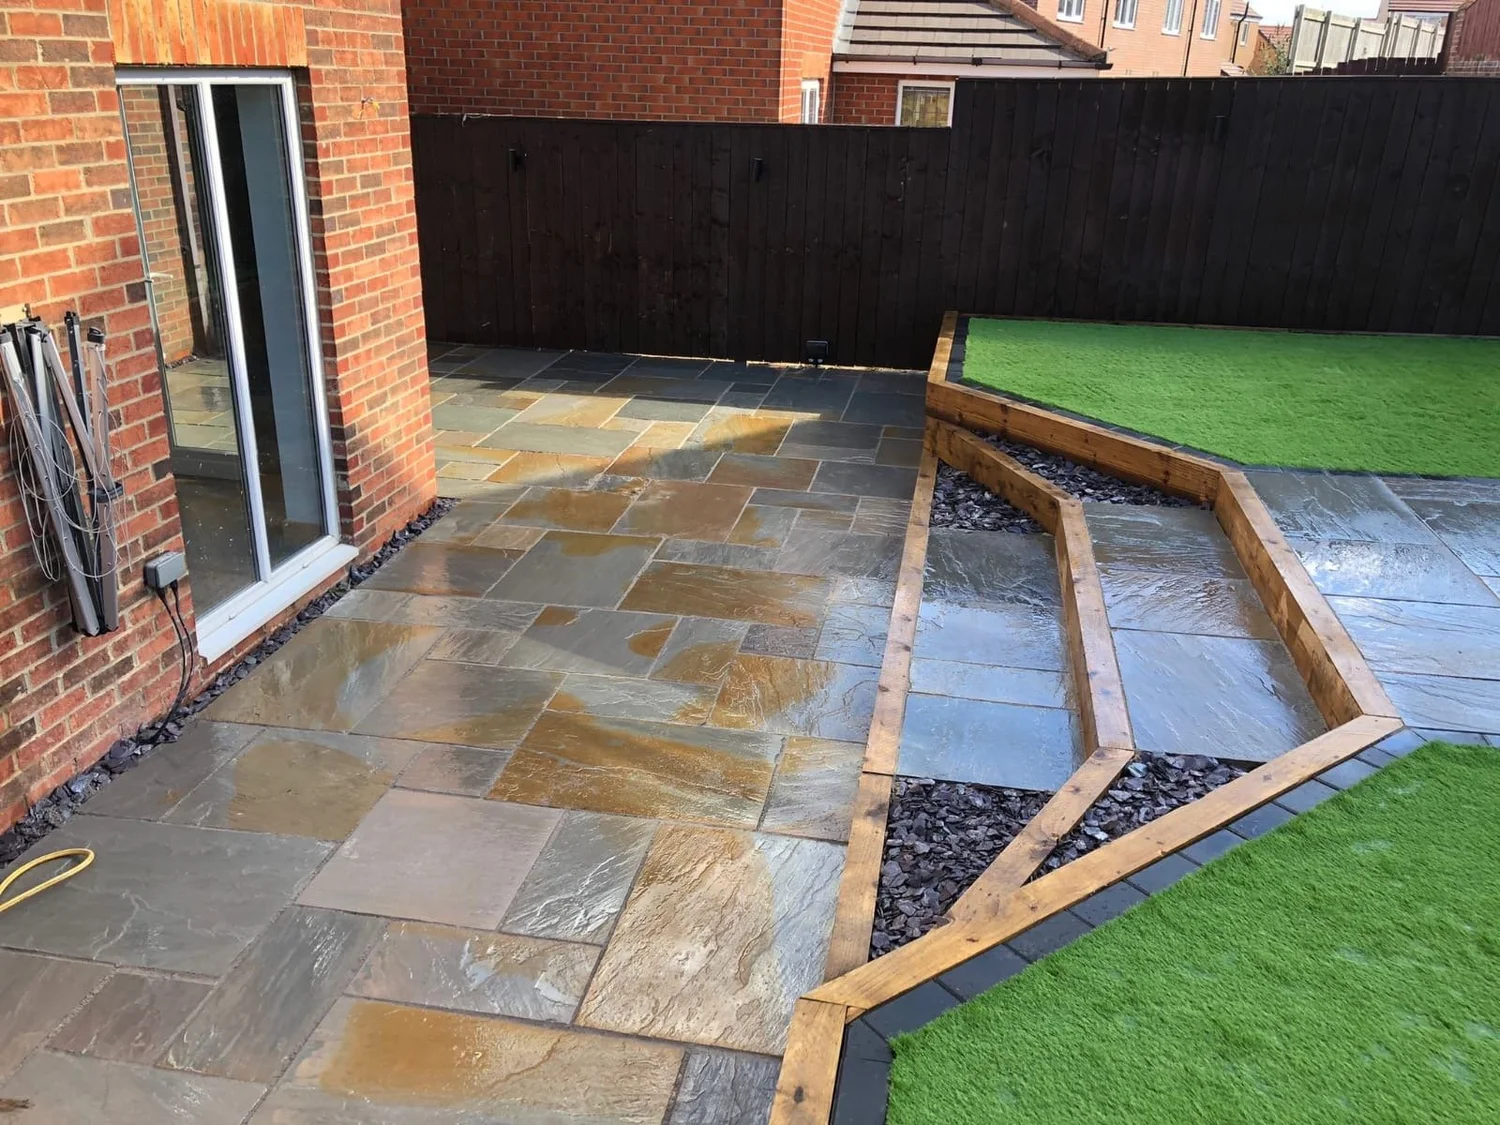

Add the laying course
On top of the sub-base, spread around 25mm of granite dust or sharp sand. This fine layer fills the small gaps in the stone and gives you a smooth, even surface, so the shape of the stones doesn’t show through the grass. We prefer granite dust as it compacts harder.
Rake it out evenly, compact it, then screed it level with a straight edge. Any bump or footprint left here will show once the grass is down.
Lay the weed membrane
Roll a good quality, permeable weed membrane over the laying course, overlapping the joins by about 100mm. It stops weeds growing up from below while still letting water through. Pin it down or fix it to the edging so it stays flat and doesn’t ruck up when you lay the grass on top.
Roll out the grass
Unroll the grass across the area with the pile facing the house, and leave it to settle for an hour or two, ideally in the sun. This lets it relax and makes creases and roll marks drop out. Lift and place it rather than dragging it across the membrane. If you’re using more than one roll, lay them all in the same direction and line them up side by side.
Join the seams
Neat seams are what make a lawn look like one piece rather than strips. Start by trimming the factory edge off both pieces, usually the first two or three rows of stitching, so the backing is clean and the gaps between tufts match the rest of the lawn.
- Fold back both edges and lay the joining tape down the line of the seam, shiny side down.
- Spread artificial grass adhesive evenly along the tape.
- Fold the grass back down onto the glue so the edges butt up tightly with no gap and no overlap.
- Press the seam down firmly along its full length and keep the fibres out of the glue as you go.
- Leave the adhesive to cure before anyone walks on it, following the product instructions.
Cut in and fix the edges
Once the grass has settled and the seams are joined, trim the edges to fit. Cut from the back of the grass where you can, a couple of stitch rows at a time, using a sharp blade and changing it often. Work slowly around curves, beds and paving.
Fix the edges to timber edging with galvanised nails or staples every 200mm or so, pushing the fibres aside so the heads disappear. On other edges, use U-pins or adhesive onto a solid kerb. The grass should be tight to the edge with no gaps for weeds or water to get under.
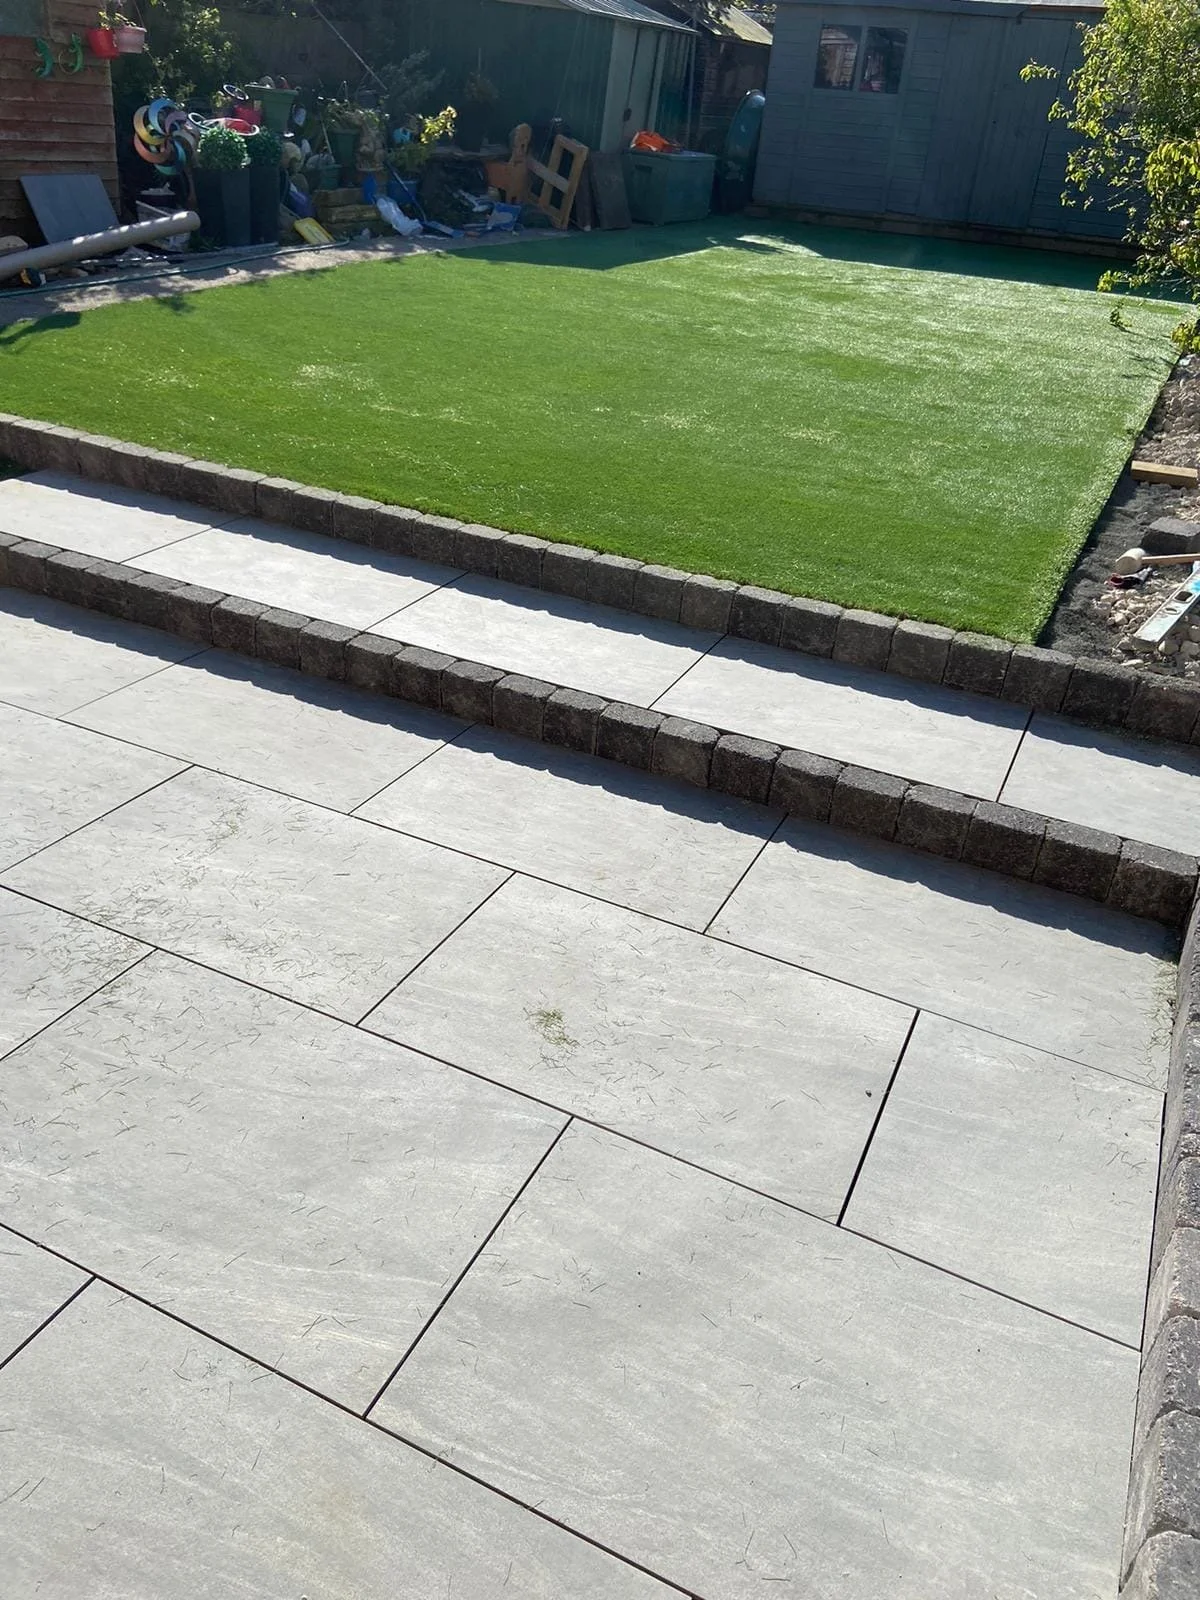
Infill and brushing
Kiln-dried sand infill is optional, but many types of artificial grass benefit from it. Spread it evenly, about 5–8kg per square metre depending on the manufacturer’s advice, then brush it in. It weighs the grass down, helps the fibres stand upright and protects the backing. Some grasses are designed without infill, so check first.
Finally, brush the whole lawn against the pile with a stiff broom to lift the fibres and blend the seams.
Laying on concrete or a patio
Artificial grass can go over an existing concrete base or patio. You skip the dig-out and sub-base, but a few things still matter:
- The surface needs to be sound, clean and drain freely, with a fall so water doesn’t sit underneath. Drill drainage holes if water puddles.
- Lay a shock pad or foam underlay first. It hides cracks and joints in the concrete, makes the lawn softer underfoot and adds cushioning for play areas.
- Glue the shock pad and the grass down around the edges with artificial grass adhesive, as you can’t nail into concrete the same way.
Common mistakes
- Not digging deep enough and laying grass straight onto soil or a thin layer of sand.
- Skipping compaction or compacting the base in one thick layer.
- Pile in different directions on neighbouring rolls, which shows up as two different shades.
- Visible seams from leaving the factory edge on or leaving a gap between pieces.
- Poor edge fixing, which lets the edges lift, curl and let weeds in.
- No fall or drainage plan, so water sits on the surface after rain.
If you have a dog, the base and drainage matter even more, but the steps above are the same.
Clay soil in the North East
A lot of gardens around Newcastle, Durham, Sunderland and Teesside sit on heavy clay. Clay holds water and drains slowly, so if you lay a standard base straight onto it, the stone can end up sitting in a puddle and water can collect under the grass after heavy rain.
- Dig to the deeper end of the range and consider a thicker MOT Type 1 layer.
- Lay a geotextile membrane under the sub-base so the stone doesn’t sink into the clay.
- Build in a fall to one side and think about a French drain or soakaway at the low point.
- Avoid working the clay when it’s saturated.
Our guide to fixing a waterlogged garden on clay soil covers the drainage options in more detail.
When to get a professional
Laying a small, flat, square lawn is a realistic weekend project if you’re handy and happy to hire a compactor. It’s worth getting a professional in if:
- The area is large, sloping or has lots of curves and beds to cut around.
- The garden has drainage problems or heavy clay.
- You need several joins and want them invisible.
- The lawn is part of a wider project with a new patio, path or borders.
We install artificial grass across the region, including artificial grass in Durham, and often lay it as part of a full garden design with patios and paths. You can see examples and the grasses we use on our artificial grass page.
Common questions
How deep should I dig for artificial grass?
Aim for about 75–100mm below the finished level. That allows for a compacted MOT Type 1 sub-base and around 25mm of granite dust or sharp sand on top. Go deeper on soft or clay ground.
Can I lay artificial grass straight onto soil?
We wouldn’t recommend it. Soil moves, holds water and lets weeds through, so the lawn will soon become uneven and boggy. A compacted stone base is what keeps it flat and free-draining.
Is granite dust or sharp sand better for the laying course?
Both work. Granite dust compacts harder and holds its shape well, which is why we prefer it. Sharp sand is easier to find and fine for smaller domestic lawns if it’s compacted and screeded properly.
Which way should the pile face?
Towards the house, or wherever you look at the lawn from most. Looking into the pile makes the grass look fuller and more natural. Every roll must face the same direction.
Do I need sand infill?
Not always. Kiln-dried sand helps weigh the grass down and keeps the fibres upright, but some grasses are designed to be laid without it. Follow the manufacturer’s guidance for your grass.
Can artificial grass be laid on a slope?
Yes, as long as the base is well compacted and the edges are firmly fixed. Steeper slopes need extra fixings and good drainage at the bottom.
Rather leave it to us?
We will visit, check your ground and drainage, and give you a clear written price for a new artificial lawn, with no obligation.
Get a free quoteSee our artificial grass